TutorialTutorials
How to Move 900+ Shiny Pokémon From 3DS to Pokémon HOME Before Bank Shuts Down
Pokémon Bank shuts down in February 2027. Here is how to use Checkpoint, PKHeX and Pokémon HOME to move a large Ultra Sun or Ultra Moon collection off your 3DS while the official transfer route still works.
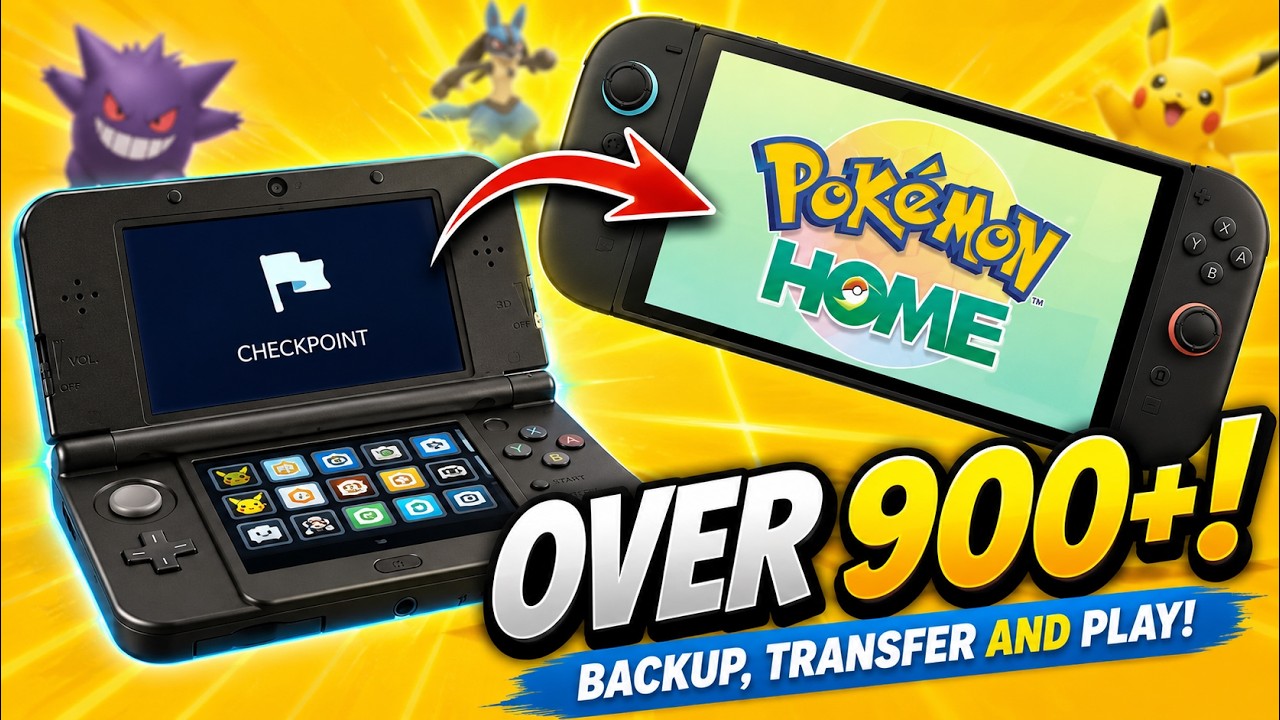
How I Moved 900+ SHINY POKEMON from My 3DS to Switch 2 (The Easy Way)
Watch on YouTubePokémon Bank now has an end date: the Nintendo 3DS service is scheduled to shut down on February 26, 2027, and the Bank-to-Pokémon HOME transfer route will disappear with it. That gives this workflow a real deadline. If you have older Pokémon you want to preserve in HOME, it makes sense to move them while the official bridge still exists.
What you need
- A Nintendo 3DS or 2DS with custom firmware and Checkpoint installed.
- Pokémon Ultra Sun or Ultra Moon, launched and saved at least once.
- A computer and a way to access the 3DS microSD card.
- PKHeX from Project Pokémon.
- The Project Pokémon “All 806 Legal and Shiny Pokémon” Ultra Sun/Ultra Moon save file used in this guide.
- Pokémon Bank already available on the 3DS and a working Nintendo Network ID setup.
- Pokémon HOME on Nintendo Switch or Switch 2, plus a Premium Plan for the Bank-to-HOME move.
The important warning comes first: restoring another save will overwrite the save currently attached to your game. Back up anything you care about before changing files. The downloadable collection is also third-party material. Project Pokémon describes the current package as containing more than 920 Pokémon, with shiny forms where they can legally exist, but that is the uploader’s claim rather than a guarantee from Nintendo or The Pokémon Company. PKHeX itself also warns against using significantly hacked Pokémon in battles or trades with unsuspecting players.
1. Create a clean Checkpoint backup
Start Ultra Sun or Ultra Moon and make sure the game has a normal save. Close it, launch Checkpoint, select the game on the top screen and press A. Choose Backup — or use the L-button shortcut — give the backup a memorable name, and confirm it. This creates the folder structure you will replace later while also giving you a copy of your original save.
After the backup finishes, close Checkpoint, power down the system and move the microSD card to your computer. Keep a separate copy of the original backup somewhere safe before continuing.
2. Prepare the replacement save in PKHeX
Download PKHeX from Project Pokémon and download the Ultra Sun/Ultra Moon collection linked with this guide. PKHeX is a save-file editor, so you can open the downloaded save and inspect its boxes before putting anything on your 3DS.
Once you are satisfied with the file, use File > Export SAV in PKHeX. Export the save with the filename main, using lowercase letters. On the microSD card, browse to the 3DS folder, then Checkpoint, then saves, and open the folder for Pokémon Ultra Sun or Ultra Moon. Inside it, open the backup folder you created in the previous step and replace its existing main file with the newly exported one.
3. Restore the save to Ultra Sun or Ultra Moon
Put the microSD card back into the 3DS and launch Checkpoint again. Select your game, highlight the backup name you created earlier, then choose Restore or press R. Checkpoint will write the replacement save into the game.
Launch Ultra Sun or Ultra Moon before doing anything else. Open the PC boxes and verify that the collection is present. If it is not, stop here and recheck the exported filename, the game folder and the Checkpoint backup you restored rather than continuing into Pokémon Bank.
4. Move the boxes into Pokémon Bank
Open Pokémon Bank on the 3DS and choose Use Pokémon Bank, then select the Ultra Sun or Ultra Moon save. Your game boxes appear on the lower screen and Bank boxes on the upper screen. To avoid moving hundreds of Pokémon individually, press Start until the cursor turns green; this lets you select and move a full box at a time.
Move the boxes you want into Bank, rename Bank boxes if that will help you keep the collection organized, then press X and save the changes. At this point the Pokémon you moved are stored in Pokémon Bank rather than only in the local game save.
New Pokémon Bank downloads have ended, so this part assumes Bank is already available to you through the official 3DS setup. The service is also living on borrowed time: once Bank closes in February 2027, this official path to HOME will no longer be available.
5. Transfer from Pokémon Bank to Pokémon HOME
On your Switch or Switch 2, install and open Pokémon HOME. A paid Premium Plan is required for moving Pokémon from Bank; Nintendo currently lists the US one-month plan at $2.99 before tax, which is enough for a one-off transfer if you do not need a longer subscription.
In Pokémon HOME, choose Move and begin a move from Nintendo 3DS. Then return to the 3DS, open Pokémon Bank, choose Move Pokémon to Pokémon HOME, select Begin and choose the Bank boxes you want to send.
Back in HOME, continue until it displays a Move Key. The key is only valid for three minutes, so enter it on the 3DS promptly and confirm the transfer. When HOME finishes processing the move, reopen it and follow the prompts to place the incoming boxes.
The transfer is one-way. Once Pokémon have been moved from Bank into HOME, they cannot be sent back to Bank. During our transfer, HOME also threw a few launch errors immediately afterward; restarting the app and trying again resolved them, so a temporary error does not necessarily mean the move failed.
Check the collection before you are done
After HOME reports that the move has completed, inspect the transferred boxes and confirm that the Pokémon you expected are present. Remember that HOME compatibility varies by game: storing a Pokémon in HOME does not automatically mean it can be moved into every Switch-era Pokémon title.
The main reason to do this now is preservation. The 3DS-to-HOME bridge is finite, and February 26, 2027 is the deadline that matters. If your older collection is still sitting in Bank or in a compatible 3DS save, moving it sooner gives you time to troubleshoot account, server or save-file problems before the service disappears.
Where to find it
Sources
About the author
TechCravers
Writes about consumer technology and gaming for TechCravers.