TutorialGaming
How to Turn the AYN Thor Into a Dual-Screen Retro Console
A step-by-step tutorial on setting up dual-screen emulation, file management, graphics drivers and a clean console front-end on the AYN Thor.
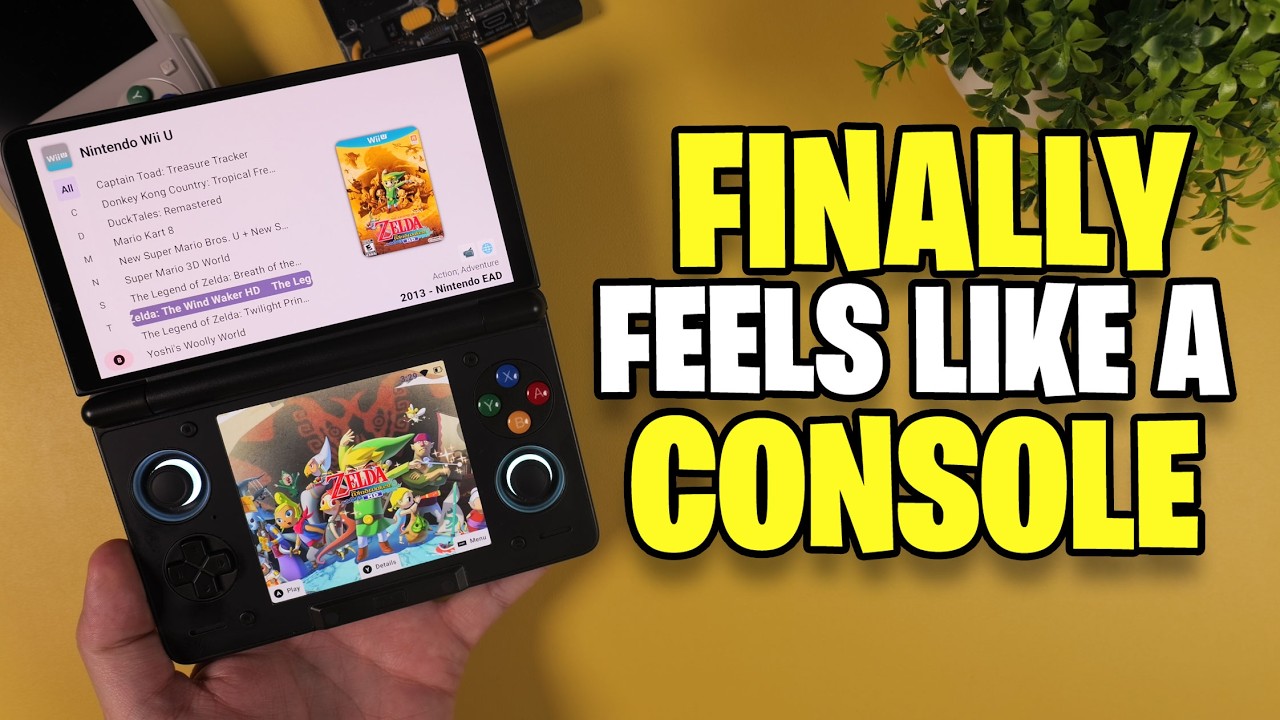
Turn the AYN Thor Into a Dual-Screen Gaming Console
Watch on YouTubeIntroduction
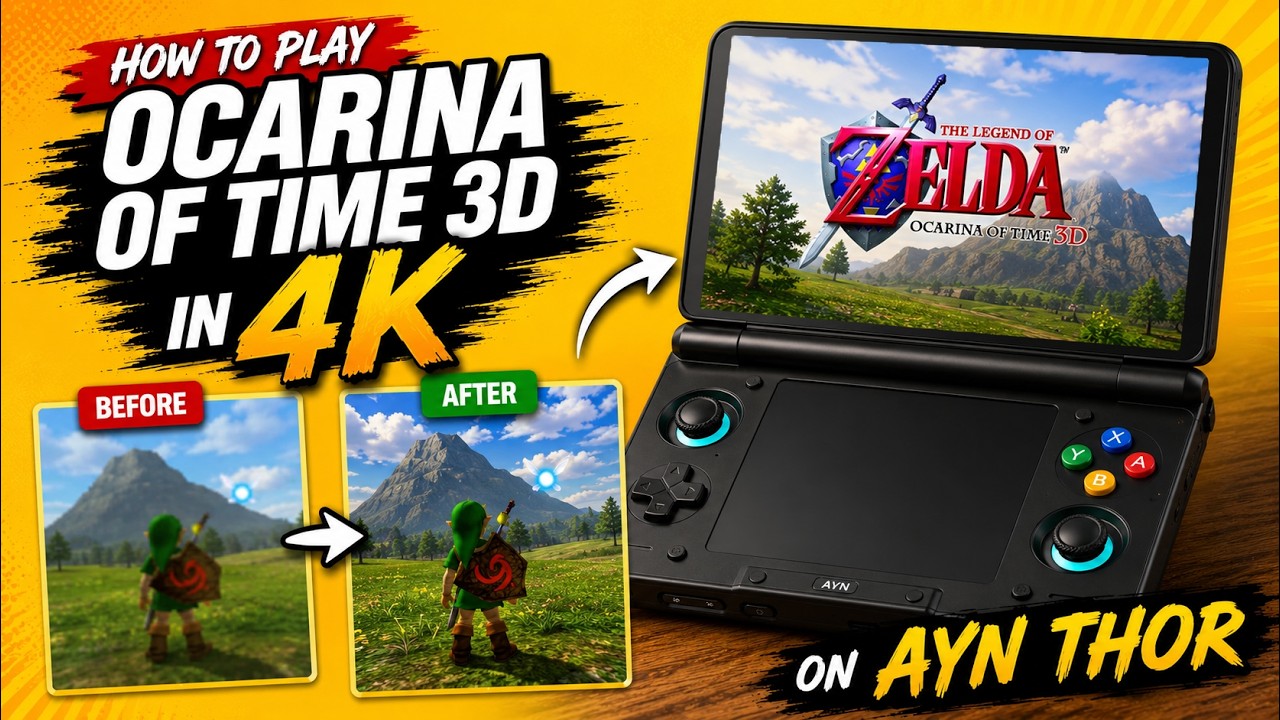
The AYN Thor pairs a 6-inch Full HD AMOLED main screen with a 3.92-inch AMOLED secondary touch display. Powered by Android 13 with a 6,000mAh battery and Hall effect thumbsticks, the handheld's physical layout makes it ideal for dual-screen gaming systems. However, out of the box, standard Android launcher interfaces do not deliver a seamless retro experience.
By establishing an organised directory structure, configuring specific dual-display emulators, and applying a dedicated front-end launcher, you can transform a fresh device into a streamlined dual-screen gaming console.
Prerequisites
Before starting the configuration process, ensure your device is charged and connected to Wi-Fi. You will need access to the following resources:
- Emulation Station for Android (available via Patreon) to auto-generate system directories.
- The MelonDS Android APK from Sapphire Road's GitHub repository.
- The Citra MMJ storage access antutu APK fork.
- The dual-screen Cemu Android APK fork by Sapphire Rodonite.
- Mr. Purple's Turnip graphics driver zip file from the Cemu Turnips download page.
- The Console Launcher APK file.
- Your personal game dumps stored on an external drive, USB flash drive, or micro SD card.
Step 1: Establish a Clean ROM Directory
Using a front-end tool to build your initial folder hierarchy prevents file management problems when configuring emulators later in the setup process.
- Open your downloads folder and install the Emulation Station for Android APK file.
- Launch ES-DE, tap Begin Setup, and grant the application permissions to manage device files.
- Select your directory location for configuration files or accept the default recommended path.
- Select your primary ROMs folder location. When prompted to create system directories, select Create Them to automatically generate labeled subfolders for all supported systems.
- Exit Emulation Station and open your preferred file browser to inspect the created ROMs folder. Each subfolder includes a text file detailing supported file formats for that specific system.
- Copy your game dumps into their corresponding system folders using an external SSD, micro SD card, or USB flash drive.
Step 2: Install and Configure Dual-Screen Emulators
Navigate to your downloads folder and install the APK files for MelonDS, Citra MMJ, and Cemu. Each emulator requires specific tweaks to output correctly across both AMOLED screens.
Configuring MelonDS for Nintendo DS
To set up dual-screen rendering in MelonDS:
- Open MelonDS, select Set ROM Directory, and navigate to the NDS folder inside your ROMs directory.
- Open settings from the top-right menu, select Video, and change the renderer from software to OpenGL.
- Set the internal resolution to four times native resolution (approximately 720p), and optionally set the filter to LCD.
- Under Dual Screen Presets, select Internal Top and External Bottom, and confirm that Keep DS Aspect Ratios is enabled.
- Open Key Mapping under Input settings to verify or rebind controller buttons if necessary.
Configuring Citra MMJ for Nintendo 3DS
To configure Nintendo 3DS emulation on Citra MMJ:
- Open Citra MMJ and choose the directory containing your 3DS game files.
- Select Input Binding from the top-right menu and manually bind each button control to the Thor's physical inputs.
- Enter the settings menu, set the internal resolution to three or four times native, and enable New 3DS Mode.
- Launch a game, swipe in from the left edge of the screen to enter the menu, select Settings, and tick Hide Input Buttons to remove touch overlays from the upper screen.
Configuring Cemu for Wii U
To configure Wii U dual-screen functionality in Cemu:
- Open Cemu, select Settings, navigate to General Settings, and add your Wii U games folder path.
- Go to Input Settings, select Controller 1, change the emulated controller to Wii U Gamepad, select Setup All Inputs, and choose the Odin controller.
- Launch a game, swipe in from the left edge, and select Show Pad to display the secondary screen.
- Swipe in from the left menu again and select External Pad Screen to position the primary display on the top screen and the gamepad display on the bottom screen.
Performance Tweaks and Graphical Fixes
Some Wii U titles, such as Twilight Princess, may exhibit flickering graphics on the lower screen when using system default graphics drivers. Installing custom Turnip drivers resolves these rendering issues.
- In Cemu, navigate to Settings, select Graphics Settings, and tap Custom Drivers.
- Tap the add icon and select Mr. Purple's Turnip driver zip file. Once installed, select the Turnip driver over the default system driver.
- To hide on-screen system popups, navigate to Overlay Settings and uncheck overlays for controller profiles, shader compiler, and friend list.
Step 3: Set Up Console Launcher
Console Launcher transforms the user interface into a streamlined, console-like home environment with active dual-screen support.
- Install and open the Console Launcher APK while connected to Wi-Fi.
- When prompted, set Console Launcher as your default home application (replacing the standard Quickstep launcher).
- Select Game Icons as the visual focus, choose your game type, and select Box Art for media display.
- Select your primary ROMs directory as the default location.
- If 3DS titles do not automatically appear in the interface, tap the gear icon and select Front End from the left menu.
- Under Missing Players, tap the add icon, select Nintendo 3DS, assign your 3DS folder path, set the emulator player to Citra MMJ Storage Access antutu, and tap Sync Files.
Conclusion
Following these steps configures the AYN Thor to boot directly into a unified front-end launcher with custom dual-screen setups across Nintendo DS, Nintendo 3DS, and Wii U emulators.